Quick answer: A Christmas word search printable is a ready-to-print puzzle grid filled with hidden holiday words like reindeer, stocking and snowman. Print it at home or school, circle each word as you find it, and check your answers on the solution page. Choose an easy grid for young children and a larger grid for older kids and adults.
What makes a Christmas word search different from any other puzzle?
A Christmas word search is a grid of letters with Christmas words hidden inside it, running across, down, or diagonally, and sometimes backwards too. A regular word search might hide any words at all, but a Christmas one only hides words from the season, so every find feels like part of the holiday.
If you have ever watched a room go quiet in a good way, you know why this simple puzzle keeps coming back each December. It is cheap, it needs no screen, and it works for a five-year-old and a grandparent at the same table.
This guide covers the whole job properly: puzzles by age, three word lists you can use today, a step-by-step way to build your own, a real classroom story, family night tips, printing settings that actually work, and a plan for the whole countdown. By the end, you will know exactly which puzzle to print, and why it works.
A normal word search can use any words at all. A Christmas one uses words that already live in a child's December: the tree, the stocking, the reindeer, the snow. That familiarity is the point. A child who can read the word can hunt for it, and a child who cannot read it yet can still learn it by finding it. The puzzle teaches the vocabulary while it entertains.
The Christmas theme also does a second job. It sets the mood without any extra effort. Put a word search on the table next to the mince pies and the room feels like Christmas before anyone has even started. That is why teachers use them in the last week of term, and why families keep a stack by the fire.
It also works just as well for one child alone as for a full family, and for a whole class at once with no extra preparation. One printed page, a pencil each, and the game is running. That is the whole appeal, and it is why the format has lasted so long.
Which puzzle fits which age?
This is the question that decides whether the game lands or flops. Give a five-year-old a dense grid and they will give up in a minute. Give a twelve-year-old a tiny grid and they will finish it before you have sat down. Match the puzzle to the age, and the game works.
For ages 4 to 6, keep it small and kind. Use a grid of about 8 by 8 or 10 by 10 letters. Use 8 to 10 words, all short, all familiar: star, tree, snow, gift, bell, sled, elf, toy. Keep the words running across and down only, and leave plenty of space between them.
For ages 7 to 9, a 12 by 12 grid works well, with 12 to 15 words mixing short and medium ones: reindeer, stocking, fireplace, snowflake, candy cane. Add a few diagonals so they have to look harder, and try one word running backwards if they are ready for it. They will enjoy the extra challenge, and the sense of finding something cleverly hidden.
For ages 10 to 12, go bigger and trickier: a 15 by 15 grid with 18 to 22 words, diagonals and backwards words included. Add longer words like gingerbread and mistletoe, and include a few words that look similar, such as snow and snowman, so they have to read carefully instead of just scanning for a first letter.
For teenagers and adults, a 20 by 20 grid with 25 to 30 words works if the words are interesting, not just long. Add some proper challenge: words that cross, words that share letters, and a theme that rewards knowledge, such as the names of Santa's reindeer, or Christmas films, or carols. Adults want to feel clever, not just busy.
Mixed-age groups need two versions instead of one. Give younger children the easy grid and older ones the harder grid, and let them race. They are not competing against each other directly, which keeps the peace, and they still share the same activity, which keeps the togetherness.
Three ready-to-use Christmas word lists
Here is the free benefit of this guide, ready to copy straight into your own puzzle or to use as a checklist while you hunt. Each list is built for the age group above it, and each one has been kept to words that most children already know. You can mix lists if you want, but try one list as it stands first. A list that is too mixed loses its level, and then nobody is quite sure if it is easy or hard.
Easy list, for ages 4 to 6, words across and down only:
Medium list, for ages 7 to 9, with a few diagonals:
Tricky list, for ages 10 and up, with diagonals and backwards words:
A quick note on word choice, because it changes how the puzzle feels. Short words hide easily in a small grid, but they also get found fast, so a puzzle made only of three-letter words feels thin. Long words look impressive, but if half the words are long, the grid fills up with letters that block each other and the puzzle turns into a slog. The lists above balance that on purpose. Each one has a spread of short, medium, and long words, so the hunt keeps changing pace. A fast find, then a slow search, then another fast find. That rhythm keeps people going.
- star
- tree
- snow
- gift
- bell
- sled
- elf
- toy
- candy
- santa
- reindeer
- stocking
- fireplace
- snowflake
- candy cane
- sleigh
- wreath
- carol
- gingerbread
- mistletoe
- cocoa
- angel
- snowman
- lights
- cookies
- north pole
- chestnuts
- jingle bells
- wrapping paper
- ice skating
- carol singers
- hot cocoa
- snow globe
- christmas eve
- nutcracker
- poinsettia
- evergreen
- sleigh bells
- sugarplums
- winter wonderland
- holiday lights
- gingerbread house
- frosty morning
How do you build your own Christmas word search?
Making your own puzzle sounds harder than it is. Once you have done it once, you can do it in about fifteen minutes, and you can reuse the method for any theme at all. Here is the method that works.
First, pick your word list. Choose 10 to 20 words for the age group you are making it for, using the lists above as a starting point. Write them on a piece of paper so you can tick them off as you place them. Do not add words while you are drawing the grid, because you will end up with a list that is too long for the space you have.
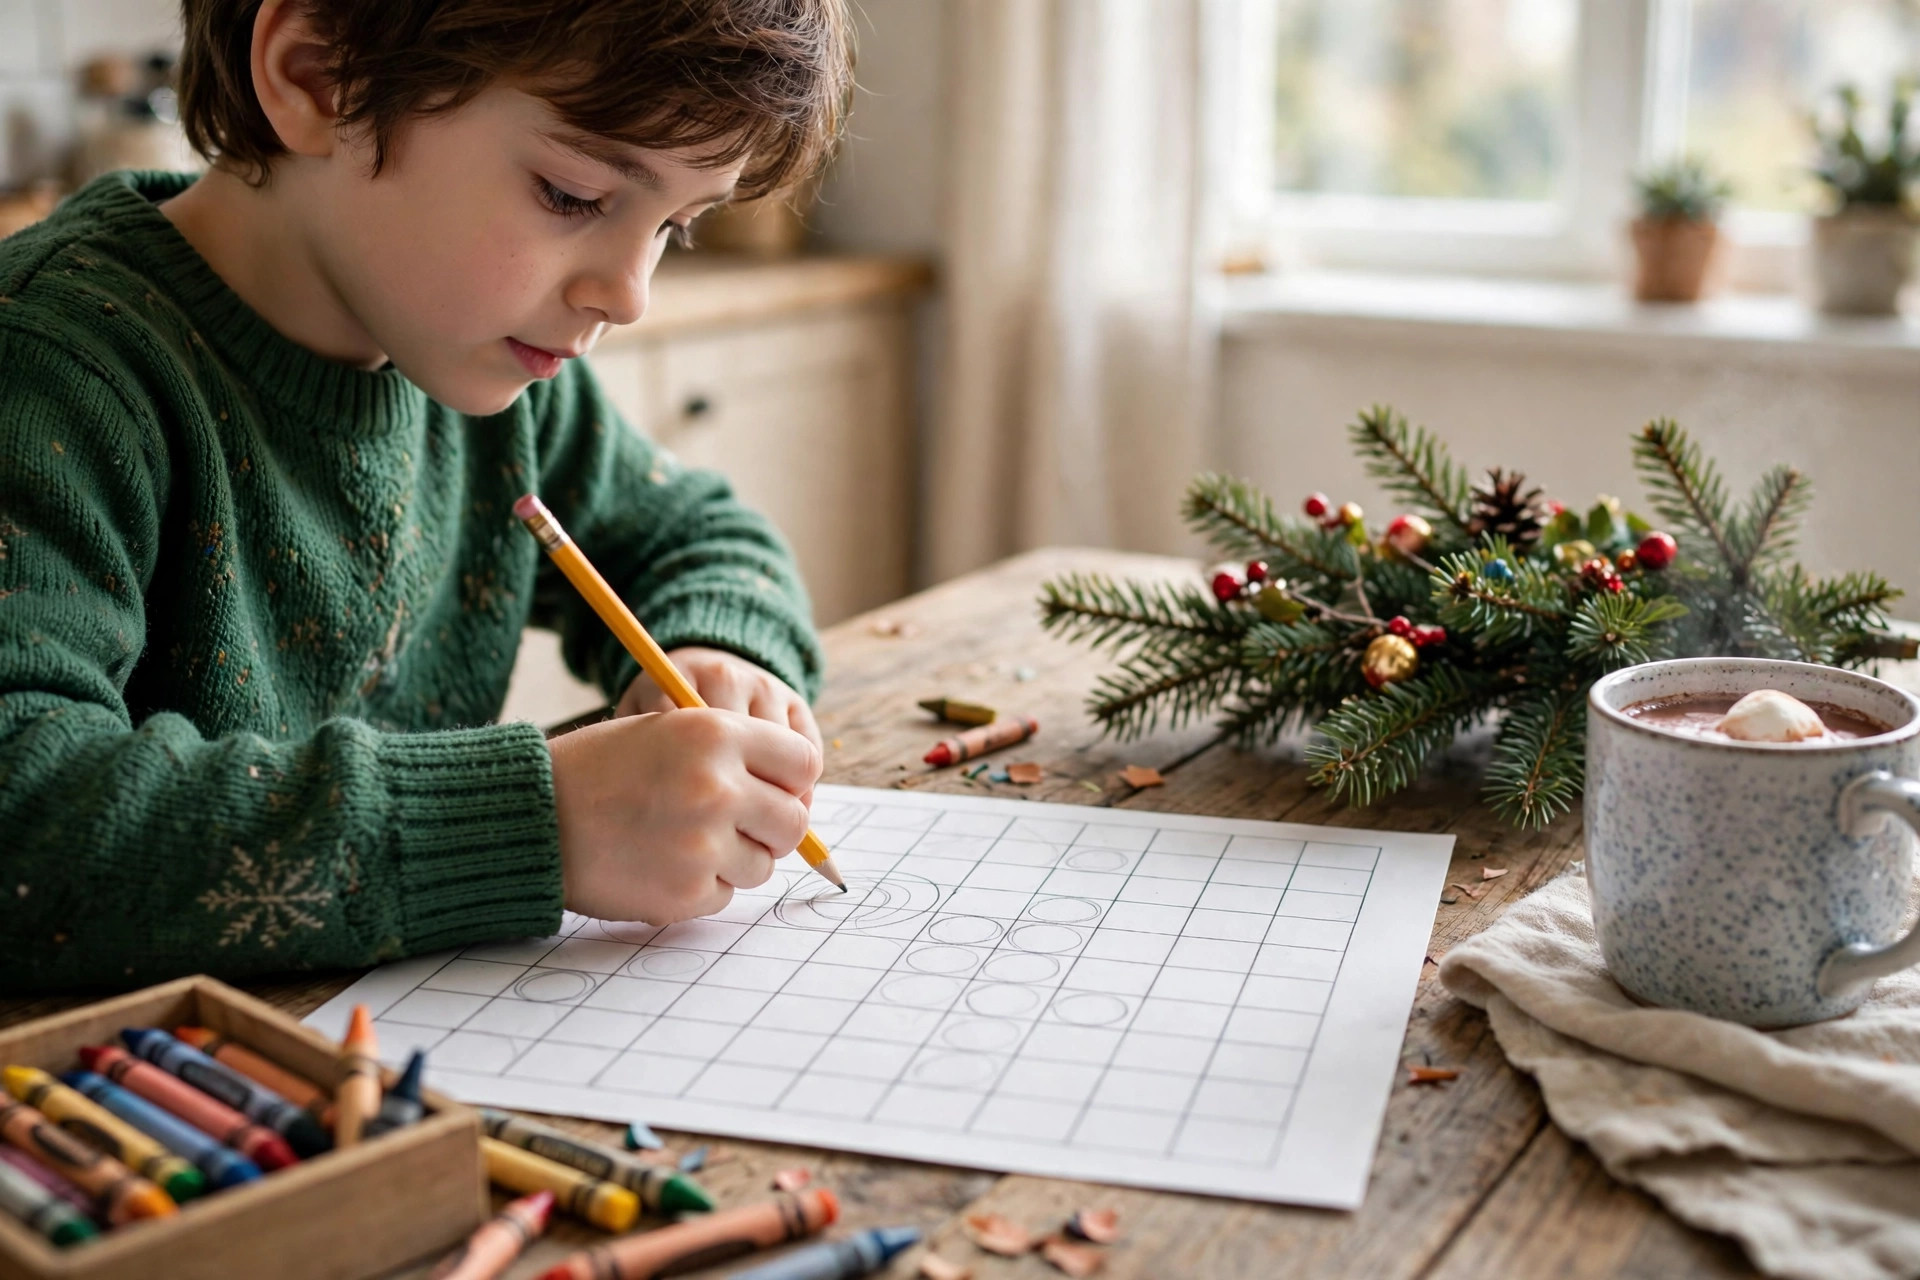
Second, draw your grid. For a first puzzle, draw a square on graph paper or on plain paper with a ruler. Use a grid size that fits your word list: a 10 by 10 grid for 8 to 10 words, a 12 by 12 grid for 12 to 15 words, and a 15 by 15 grid for 18 to 22 words. Leave at least two letters of space around the longest word so it has room to sit comfortably.
Third, place the words one at a time, longest first. Long words are hardest to fit, so they get first choice of the best spots. Write each word in pencil so you can move it if it does not fit. Cross off each word from your list as you place it, and do not place a word twice, because a repeated word confuses the solver and the answer key.
Fourth, decide your directions before you start placing. For young children, allow across and down only. For older children, add diagonals, and for teenagers and adults, add backwards words as well. Write the directions on the top of the page so the solver knows what to look for, and do not change them halfway through.
Fifth, fill the empty cells with random letters, and do not rush this step. If you repeat the same few letters, the solver will spot patterns that are not words and get confused. Use all the letters of the alphabet, and avoid accidentally making extra words in the empty cells, because a solver who finds a word that is not on the list will think they have made a mistake.
Sixth, make the solution page. Copy your grid onto a second page and circle every word in a bright colour. This is the answer key, and you should print one copy for yourself and keep it separate from the puzzle pages. Without a solution, a puzzle that looks finished can hide a mistake, and you will not know until someone gets stuck.
Seventh, test the puzzle yourself before printing a stack. Solve it from scratch and time yourself. If you find all the words in under five minutes, it is too easy. If you cannot find them in fifteen minutes, it is too hard. Adjust the grid or the word list until it feels right, and then print it.
If you want to see how the classic puzzle form works in more detail, the page on how word searches work gives a clear background on the grid, the directions, and the word list. Reading it once helps you understand why some puzzles feel fair and others feel like a trick.
A real classroom story: the ten-minute race that worked
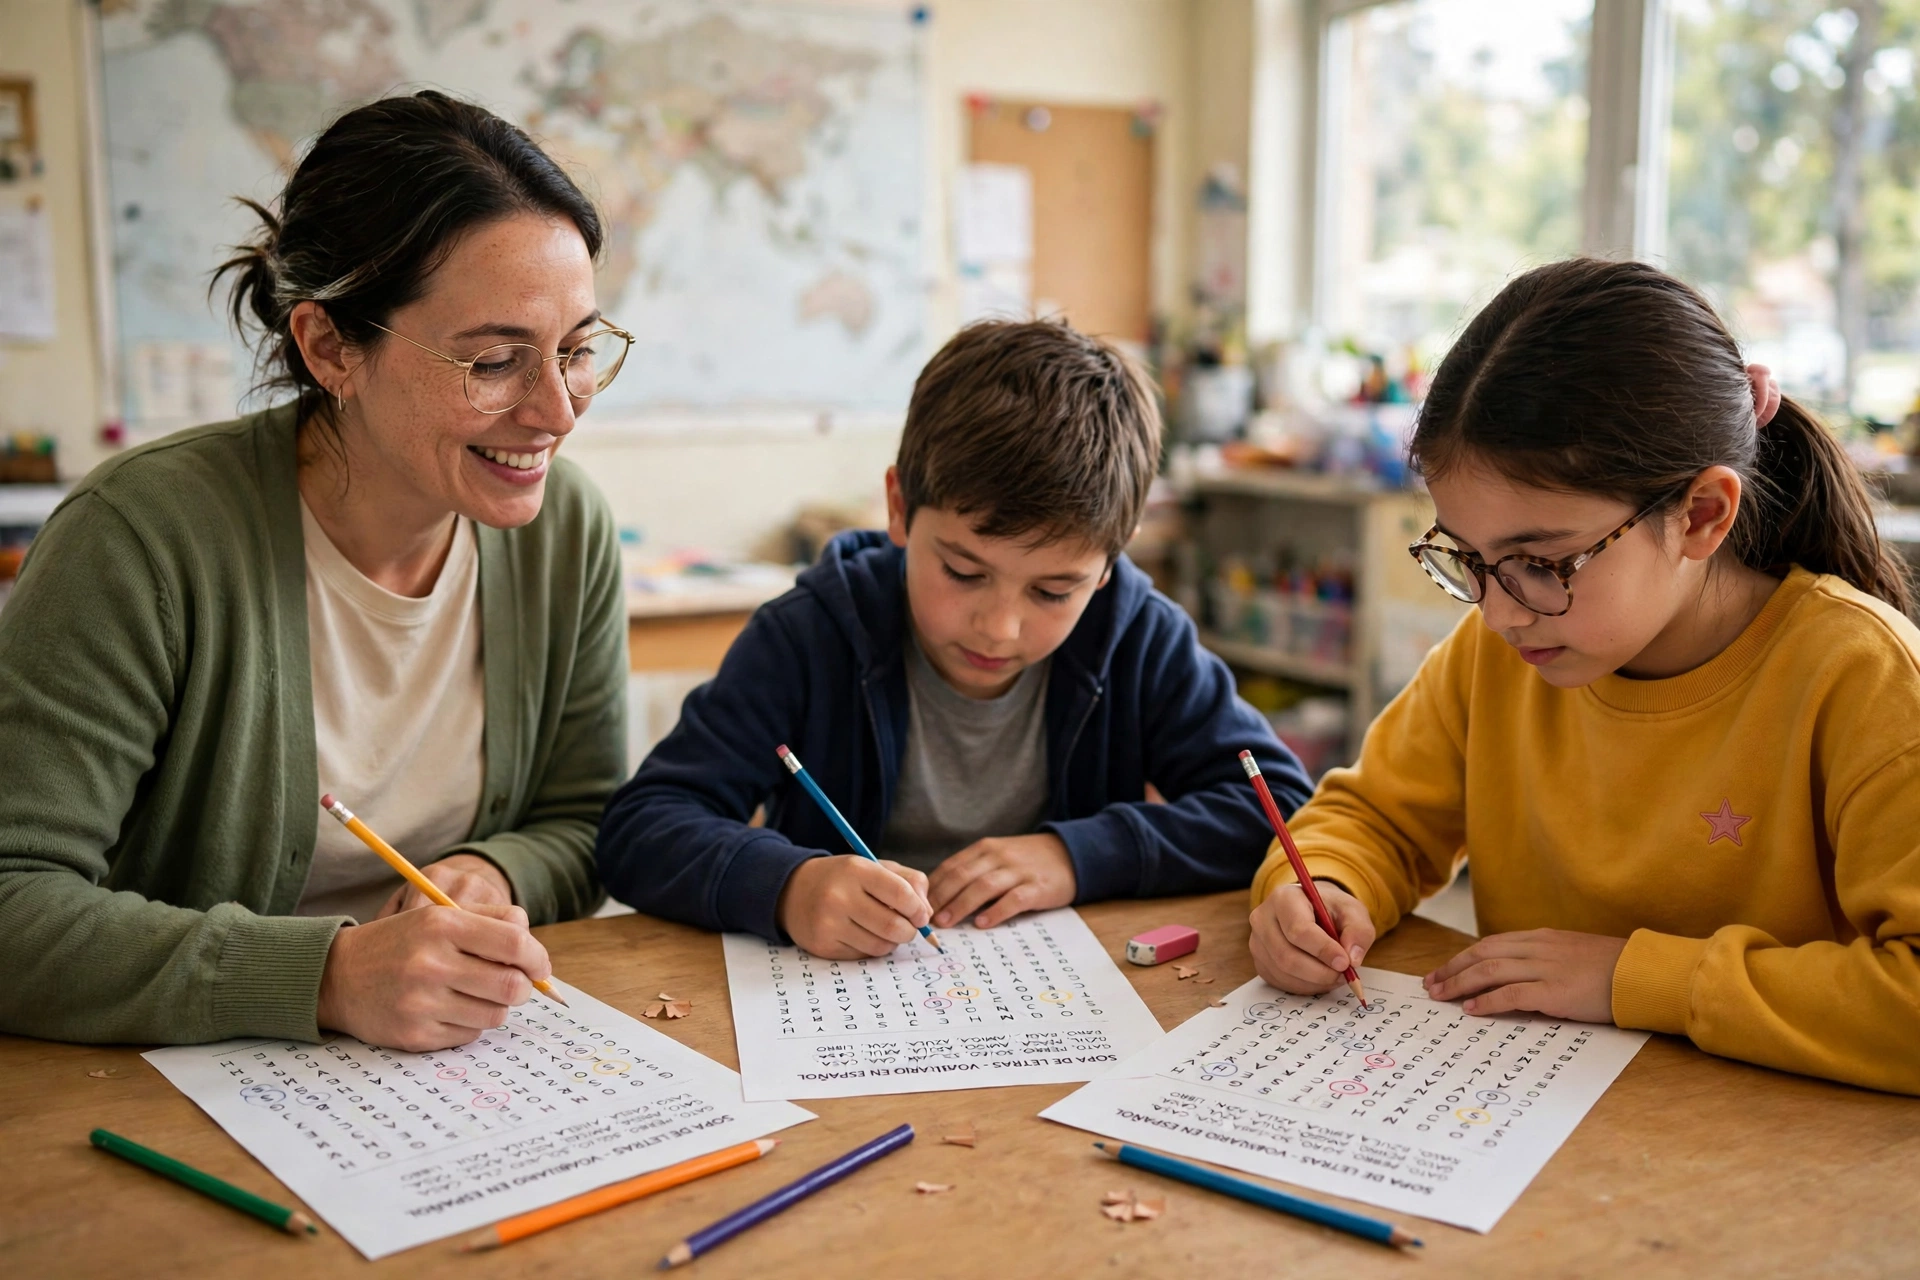
Here is the original example this guide promised, because it shows what happens when the age match is right. Last December, a teacher in a Year 5 class ran a word search as a Friday afternoon activity. She had two versions ready: an easy one for the younger readers and a harder one for the confident readers. The easy grid was 10 by 10 with 8 words, all running across and down. The harder grid was 15 by 15 with 20 words, diagonals and backwards words included.
The confident readers got a 15 by 15 grid with diagonals and a few backwards words. The children who were less confident got the easy grid and a little extra time. The teacher had also made a solution page for each version, so she could check answers quickly without hovering over every desk.
She set a timer for ten minutes and told the class it was a race against the clock, not against each other. The room went quiet, pencils moved, and after eight minutes, the first child finished the harder grid. The easy grid took a little longer, but every child finished within the ten minutes, and nobody gave up.
The lesson is simple. Same theme, different levels, same start time, and praise for finding rather than for finishing first. The puzzle worked because it matched the age, and because the teacher had a solution page to check against. That is the whole point of this guide: the right puzzle, for the right age, with the right support.
My own view, and this is the opinion point that belongs only to this topic, is that a smaller grid with fewer words is better than a big grid that nobody finishes. A puzzle that is finished feels like a win, and a win brings a child back to the next puzzle. A puzzle that is abandoned feels like a failure, and a failure puts a child off. Keep it finishable.
How do you run a family word-search night without it falling flat?
Family night fails for the same reason classroom games fail: one person finishes early and gets bored, while another gets stuck and gives up. The answer is to run two grids at once, as the section above explains, and to have a second activity ready for the early finishers. That way, nobody is waiting, and nobody is stuck.
Print one copy per player, plus two spares, because someone always spills a drink or a page tears. Put a pencil and a rubber on the table for each player, and a timer where everyone can see it. Set a time limit of ten to fifteen minutes, and stop when the timer rings, whether or not everyone has finished.
Set the ground rules out loud before anyone starts: which directions are allowed, and that only words on the list count. If someone finds a word that is not on the list, it does not count, and if someone finds a word on the list that is not theirs, it still counts for the person who found it. Keep the rules simple and fair.
Add a small second activity for early finishers so they do not hover and distract everyone else. A colouring page works well, and so does a simple quiz. The christmas countdown activities for kids page has activities that sit naturally alongside a weekly puzzle.
Score it gently if you score it at all. One point per word is enough, with a small bonus for the longest word, and no penalty for a wrong guess. The point is to have fun together, not to crown a winner, and a gentle score keeps the evening friendly.
What printing settings actually work?
Most word-search problems are printing problems, not puzzle problems. The puzzle is fine. The printer is the problem, and the fix is usually simple. Here is what actually works.
Print at full size, not fit-to-page, if your puzzle was designed for a full page. Fit-to-page shrinks the grid, and small letters are hard to find, especially for young children. If your printer has a "100%" or "Actual size" setting, use it, and check the preview before you print.
Use black ink on white paper for the puzzle itself. Colour backgrounds look festive on screen, but they print as grey, and grey makes the letters harder to read. Save the colour for the cover page, and keep the puzzle page plain.
Paper weight matters more than people expect. Thin paper tears when a child presses hard while circling a word, and it also lets ink bleed through to the next page. Use paper of at least 80 gsm, and if you can, use 100 gsm for the puzzle pages. It feels better, and it lasts longer.
Check the margins before you print thirty copies. A grid touching the edge of the page can lose its outer row when the printer trims the margins, and a missing row can hide a word completely. Leave a margin of at least 1 cm on all sides, and print one test copy first.
How do you keep the game going across the countdown?
A single word search is a lovely evening. A run of puzzles across December is a tradition. This is where the word search earns its place in the countdown, because it can grow with the month. Start easy in the first week, and get harder as Christmas gets closer, so the game feels like it is building to something.
One workable pattern is a fresh puzzle each Sunday in December, getting a little harder each time. Week one uses the easy list, week two the medium list, week three the tricky list, and week four a mix of all three. By Christmas Eve, the family has a set of four puzzles, and the children can see how far they have come.
You can also build a puzzle into an advent routine without buying anything new. Hide the day's puzzle behind the advent calendar door, and let the child find it in the morning. A small puzzle to start the day feels like a treat, and it costs nothing but a sheet of paper.
Which ready-made puzzles are worth printing?
Making your own puzzle is satisfying, and this guide has given you everything you need to do it. The lists above are enough to build a dozen puzzles, and the method above will get you there in fifteen minutes. But sometimes you want a puzzle that is ready to go, with no drawing and no checking. Here is what to look for.
The Christmas Games Bundle, at $4 on the Christmas printables page, includes a word search with solution, which is the detail to check before buying any puzzle pack. A puzzle without a solution is a puzzle you cannot check, and a puzzle you cannot check is a puzzle you cannot trust.
For younger children, the Kids Puzzle & Activity Pack, at $3, has word searches, mazes and sudoku for ages 4 to 7, which covers the age range that most needs simple puzzles. It is a good next step after the easy list in this guide, and it pairs well with the Printable Coloring Pages for Kids.
A second verified fact worth knowing is that the Complete Christmas Bundle is 68 pages and includes a word search, a crossword, and a maze. We checked this live on 4 November 2026, and it is worth knowing because the bundle is the cheapest way to get a full set of puzzles in one place.
Your next step: keep the quiet games going
You now have the full method: puzzles by age, three word lists, a step-by-step way to build your own, a real classroom story, family night tips, printing settings that work, and a plan for the whole countdown. The next step is to use it, and the best way to start is with a puzzle that is already made.
Go to the Kids Coloring & Activity Pack page at /printables/kids-coloring-activity-pack next. It gives you a colouring page and a word search together, so the quiet games can run side by side. Print both, put them on the table, and let the children choose which one to start with.
For a classroom version on another topic, try our science word search puzzles by topic, with answer keys.
For a spring-season change of pace, our March word search printable carries three puzzles for St Patrick's Day, spring, and March sports.